Friday 28 October 2016

Adobe Animate- Halloween Workshop W.I.P


I made this gif using Adobe Animate. I looked at animating multiple objects that would be moving at the same time, as well as experimenting with putting different moving objects in the foreground and background. I'm not sure where I went wrong, but when exporting my flash file to a gif, the background of my gf becomes extremely pixelated. The original Photoshop file looked like this:


But I can't figure out where I've gone wrong. Any advice would be appreciated.

Friday 14 October 2016

Timelapse GIF


Flash Animation- Follow Through and Overlapping Actions

Using my cartoon bouncing ball as a base, I added more characteristic features to my animation. So far, I have only added legs, however this has already given the impression that the bouncing ball is a live creature, and not an object. Next I'll try adding a tail and arms. I'm feeling a little more confident in using Adobe Animate, although I'm still struggling a little with figuring the movement of different objects. 

Wednesday 12 October 2016

Life Drawing Week 4


30 Minutes,Compressed Charcoal

30 Seconds- 3 minutes per pose, Graphite

15 Minutes, Compressed Charcoal

15 Minute Face Study, Compressed Charcoal

Monday 3 October 2016

Abstract Octavia Thumbnails

I created these quick thumbnail drawings by using the Lasso, Marque, and Brush tools. I used the City Octavia as my inspiration; "The spider-web city..."- pg.14 of Anthology.
I focused on the spider-web description of the city and drew a lot of thin lines covering the image to represent the spider-web. These are all abstract drawings, but they have inspired me in terms of thinking up of perspectives of the city that i hadn't thought of.

Image Creation Techniques WORK IN PROGRESS


This is a work in progress of my Octavia Thumbnail drawings.I have started looking at my rough thumbnail sketches and refining them a little more and taking into account how perspective and different tones can make the drawing look more 3d and communicate my ideas better to other people. This is just a work in progress, But I can already see the difference comparing these drawings to my previous thumbnail drawings.

Anastasia Thumbnail sketches


Anastasia Influence map


Maya and Illustrator Face Net

For this tutorial I created a polygon cube, Using the UV edit tool I transformed it into a net and placed it into illustrator and drew on a design using the pen tool. 
Attempt 1
At first I designed a small creature. But I really didn't like how this looked, I wanted to try a design that overlapped onto other sides of the cube. Also I felt that the design was too simple.

Attempt 2


This was the second design I tried. This was a lot quicker to make and also I prefer this design a lot more. I had to tweak the design a little on Illustrator before I exported it and transferred it onto my cube model. 


Illustrator Cube Face Net


This was the outcome of transferring the file on illustrator to the 3d Cube Model. I'm really please with the outcome. The process was a lot easier than I thought it would be, I'm starting to feel a little more comfortable with Maya the more I use it.

Digital Thumbnail Sketches


As an introduction to Photoshop as well as getting started with the Space and Environment project, I was asked to create 3 sets of thumbnail sketches based on Calvino's fantastical cities, using different Photoshop techniques and tools.


The first technique I used was the brush tool to create simple, sketchy line art. I think this technique is an efficient way of making very quick sketches that allow you to explore composition and shapes before you start putting a lot of effort into a drawing that you haven't planned properly. Although this style is messy, it's great for thumbnail sketches. These thumbnail sketches are based on the city Baucis.

"The slender stilts that rise from the ground at a great distance from one another and are lost above the clouds support the city. You climb them with ladders...Nothing of the city touches the ground except those long flamingo legs on which it rests and, when the days are sunny, a pierced, angular shadow falls on the foliage."
- Pg. 4 of Anthology

For these thumbnails I focused on the "Slender stilts" that support the city. I imagine them as long, spindly, old wooden stilts that are just about able to hold the city up above the clouds, so I drew them crooked messy to give them a little more character and the impression that they are only just holding up, and could possibly give way at any second.
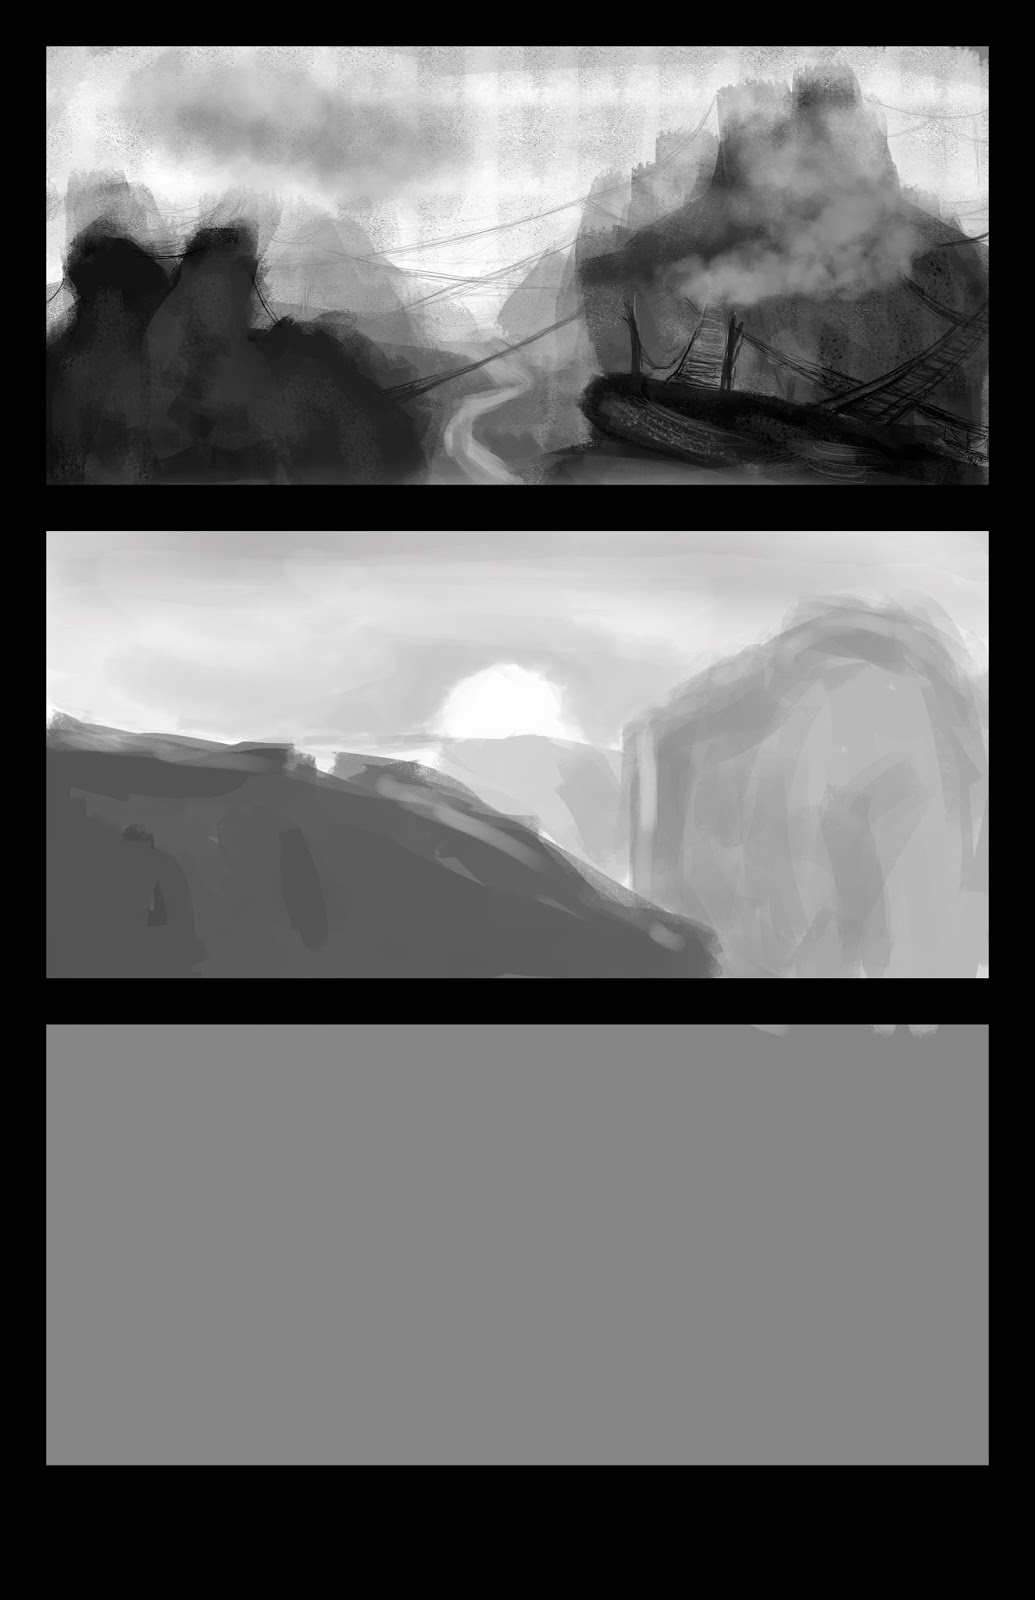
The Second Technique I used was the Selection tools; Lasso, Marque, Transform.  I used the lasso tool to mark out random shapes and then colored to selection in with the brush tool. I think I need a little more practice with the lasso tool, or i need to look up a few tutorials as I don't think i'm using it to it's full potential. The results of using these tools gave me very clean lines compared to the sketchy line art technique I used In my previous thumbnails.

"In Esmeralda, city of water, a network of canals and a network of streets span and intersect each other. To go from one place to another you  have always the choice between land and boat: and since the shortest distance between two points in Esmeralda is not a straight line but a zigzag that ramifies in tortuous optional routes."
-Pg. 8 of Anthology

For these thumbnails I focused on the "zigzag" and "canals of water" that travel through the city. I imagine Esmeralda to be either a peaceful city filled with nature, or an extremely  busy city that only uses canals to travel, meaning that the city is swarming with complicated canal routes. I really Like the thumbnail on the top left. the zig zag shapes represent the canals. 


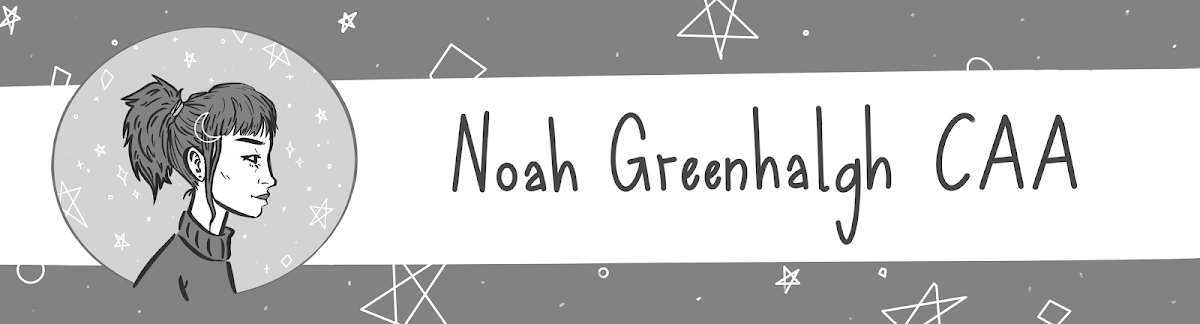
The third  Technique that I used was combining a variety of different paint brushes with the Lasso Tool. By using the lasso tool I could be very selective with which parts of the layer I was drawing on. I really liked the effect of using different brushes at different opacity settings to achieve a cloudy look to the drawing.

"The spider-web city...there's is a precipice between two steep mountains; the city is over the void, bound to the two crests with ropes and chains and catwalks. You walk on the little wooden ties, careful not to send your foot in the open spaces, or you cling to the hempen strands. Below there is nothing for hundreds and hundreds of feet: a few clouds glide past; farther down you can glimpse the chasm's bed."
-Octavia Pg.14 of Anthology


Week 1 Life Drawing


I drew these figure drawings using compressed charcoal, the model started out with a pose that I studied for around 20 minutes, then we had to draw quick poses that lasted for about a couple minutes, then ended the session with a 15 minute study. I would like to  work on planning out my drawings so I can draw more accurate body proportions, But I really enjoyed this session. I think it would be interesting to explore more abstract ways of figure drawing.

Maya Cup Modelling


I modeled these cups using Maya, This was my first time using maya and I found it very difficult to understand, however after this exercise I'm starting to get to know the software a little more. I modeled objects using both NURBS and Polygons. I found it easier using Nurbs as using Polygons is a little complicated for me at the moment.